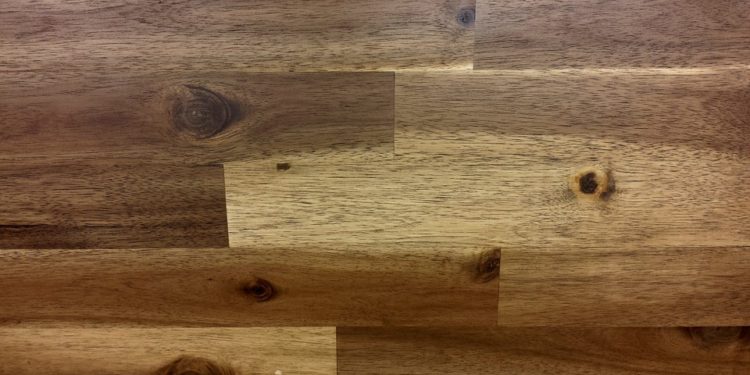
Best Way to Apply Stain | UK Guide | 2023

Staining wood can yield incredibly impressive results. However, providing your wood with a premium finish can often be derailed by being too heavy-handed when applying stain. Many also make the mistake of not taking the time to properly prepare wood prior to staining. Thankfully, it’s fairly easy to stain wood correctly by adhering to a couple of key steps.
Planning and Preparation
This is where most people come undone. Before you embark on a wood staining project, first take the time to select a quality stain that is fit for purpose. Deciding on a suitable colour is arguably the most important thing to consider here.
If you’re undecided on the exact finish you want, you should definitely consider purchasing a few tester pots and trialling out each one on some pieces of scrap timber you may have lying around. Once the stain has been absorbed and dried thoroughly, you can then assess the results and narrow down your choice of stain.
You should now take the time to prepare the wood you are looking to stain. Regardless of whether you’re working with a pre-assembled piece of furniture or individual pieces of timber, you should ensure the wood has been sanded prior to staining. You should never sand wood after it has been stained, as this will simply remove much of your hard work and result in an uneven finish.
When sanding, take the time to remove any impurities in the wood, such as knots or unsightly blemishes in the grain. Once sanded, your wood should also be brushed free of any sawdust residue.
Applying Stain
Once your wood has been properly prepared, you can turn your attentions to actually staining it. Make sure your wood stain has been stirred thoroughly before you start using it. This will ensure the essential pigment has been circulated throughout the entire stain, rather than left to collect at the bottom of the can. Pigment will continually settle at the bottom of the can, so ensure you are regularly stirring the stain to ensure the final colour and finish will remain consistent.
When it comes to adding stain to the wood, you can use a brush or rag. Both can yield good results, but a rag should provide you with a little more control, especially if you are dealing with an uneven surface texture or heavily grained wood. For best results, begin applying stain with a brush, before moving onto a rag to smooth everything out. Keep your movements small and gentle to help ensure an even application. This will also prevent stain from escaping the material surface and causing a mess.
You should also use a rag to remove any excess stain from the surface of the wood after you have finished coating it. Not only will this result in a far neater finish, it will also prevent excess stain from collecting in corners or at the edges of your material. If too much stain has collected in certain areas, you’ll ultimately notice darker spots once the stain has been absorbed and dried.
Depending on how much product you have applied, you may notice that the rag you are working with has become wet and sodden with stain. If this happens, swap out the dirty rag with a fresh one as you continue to wipe down your wood.


