How to Build a Bird Table | 2023 Guide
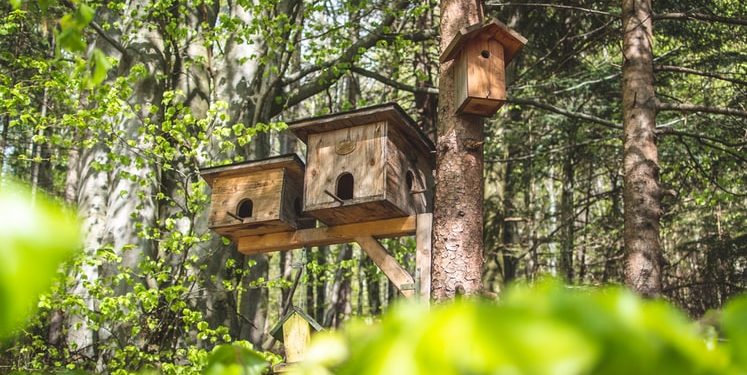
If you want to make your garden more inviting to wildlife, you should consider adding a bird table to your outdoor space. Although bird tables can be easily purchased from outdoor stores and garden centres, these products can be fairly expensive. What’s more, many bird table designs may not be in keeping with your particular tastes or space requirements. Thankfully, building a bird table from scratch is pretty simple. Our straightforward guide has all the resources you need to build a DIY bird table from scratch.
Building the Feeding Platform
The first aspect of the build you should focus on is the feeding platform. Start with a foundation plank. The best material for this element is plywood, but make sure you are using plywood that has been manufactured for use outdoors. Next, you can attach rimmed edges to this plank. These rims are to ensure that food is kept within the perimeters of the feeding platform, so the rim pieces don’t need to be particularly high. Attach all rim pieces into place with high-quality screws. Brass screws are particularly hard-wearing, although galvanised fasteners are recommended if you’re after maximum durability.
A simple feeding platform might be more than sufficient for your needs. However, some people prefer the ornate finish of a steeped roof. Unlike larger structures, you don’t need to worry too much about reinforced rafters and trusses. However, just make sure you are using high-quality wood and reliable fasteners to ensure the structure doesn’t fall apart. Once you’ve put together a suitable roof, you should attach it to a minimum of four vertical columns which in turn need to be fastened to the feeding platform.
Building the Pedestal Base
Constructing a base for your bird table requires more time and effort, but the process is fairly simple. To make a classic pedestal base, use square edge timber for the central column. Cut this down to your desired height and turn your attentions to the foundation support. You will need to cut and attach cross supports at the base of your pedestal column.
The overall length of these will depend on the height of your pedestal column, as well as the size and weight of your feeding platform. Start with longer pieces to assess the stability of your overall design, before cutting them down to smaller size to suit your preference. When the bottom supports have been cut and attached to the pedestal column, you’ll need to install some diagonal timber joists to provide additional support.
You next need to attach the completed pedestal base to the feeding platform. Rather than drilling through the plywood table directly into the timber column, use multiple angle brackets to provide points of attachments. As with the screws, using brass or galvanised brackets is a good idea as this will prevent excellent protection against the elements.
Once the building side of things has been taken care of, you can think about finishing touches. If your wood and materials have yet to be treated, get to work on this step next. You can then add any smaller ornamentation to the overall design before positioning it in pride of place in your garden.
