How to Put a Chain on a Chainsaw | Ultimate Guide 2023
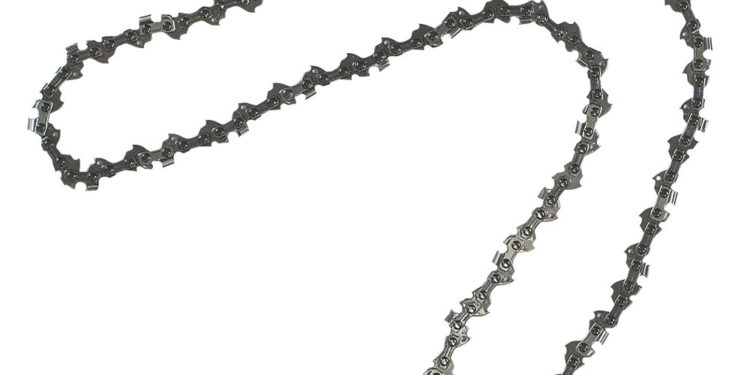
If you have never replaced a chainsaw chain before, the process can seem daunting. However, putting a chain on a chainsaw is fairly straightforward. You only need to follow a few basic steps and ensure tensioning levels are sufficient. Our handy guide explains all the key steps involved in putting a chain on a chainsaw.
How to Remove Screws and Chainsaw Housing
To begin, use a wrench to remove the bar screws from your chainsaw. These screws will be found on the lower and upper sections of your chain. You will also need to loosen bar tension. This can be done by using the slotted end of a wrench to loosen the tensioning screw. Once you have completed these steps, you need to remove the bar nuts of your chainsaw, as well as the main plastic housing that encases the saw itself.
With this done, you can focus on cleaning the chain and bar sections of your chainsaw. Small paintbrushes are particularly good at getting rid of stubborn dirt and dust. However, you will need to use oil to get to work on the most stubborn stains. At this point, you should also take the time to grease the chain prior to putting it back on your chainsaw.
Next Steps | How to Put a Chain on a Chainsaw
You are now ready to return to the chain to the its designated bay within the chainsaw. Your chain should be properly aligned with the grooves along the bar. You should also ensure that the chain is properly secured to the sprocket. Once this is done, you need to make sure that the tensioning screw is properly secured within its hole. You can now pull on the chain until you are happy with the tension levels. Avoid over or under-tensioning the chain.
Once tensioning has been taken care of, you can return the outer housing to its rightful place. Make sure all nuts and screws are tightened properly to ensure the housing will not come lose the next time you use your chainsaw. Finally, use your wrench to ensure all additional nuts and screws are secured, once again checking the tension of the chain for later reference.
Testing the Chainsaw
Now you have replaced the chain, refitted the housing and returned all nuts and screws to their rightful place, you should carry out a test to ensure your chainsaw is working correctly. Even if you are confident you have properly replaced the chain, you should observe some basic safety precautions in the event it hasn’t been tensioned correctly.
Wearing safety goggles is definitely advised at this stage. Once you have reached for some basic safety gear, you can start your chainsaw. Once it has been started, let the chainsaw run for a couple of minutes. After a couple of minutes have elapsed, turn the chainsaw off. You can should then start it again, leaving it for a minute or two before once again turning it off. Once your chainsaw has been turned off, you should check the tension of the chain. If the tension levels are the same as what you observed prior to your test, you can be confident that you have properly fitted the chain and that your chainsaw is good to go.