How To Create A Beautiful Wood Live Edge Table For Your Home
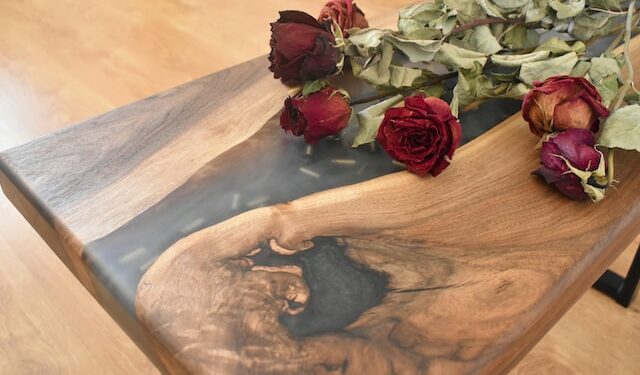
If you’re looking for a stunning and unique piece of furniture to add to your home, a live edge table might be just what you need. These tables are made from a single piece of wood, with the natural edge of the tree trunk left intact, creating a beautiful and organic design.
In this article, we’ll show you how to create a beautiful wood live edge table for your home, step by step. You don’t need to be a woodworking expert to tackle this project – with a little patience and some basic tools, you can create a stunning piece of furniture that will be the centerpiece of any room. So let’s get started on creating your very own beautiful wood live edge table for your home.
Creating a Beautiful Wood Live Edge Table
Hey everyone! I bet you’re here ’cause you wanna learn how to make yourself a beautiful wood live edge table for your home! Now there’s no need to worry, ’cause we’ve got you covered. Let’s get to it, shall we?
First, you’ll need to get yourself the right supplies. Collect wood for your table top, a saw, sand paper, wood sealant, table legs and whatever other tools or supplies are necessary. Now, if you want to give your table a nice-looking finish, you should also grab some furnishings like varnish, stain, or paint.
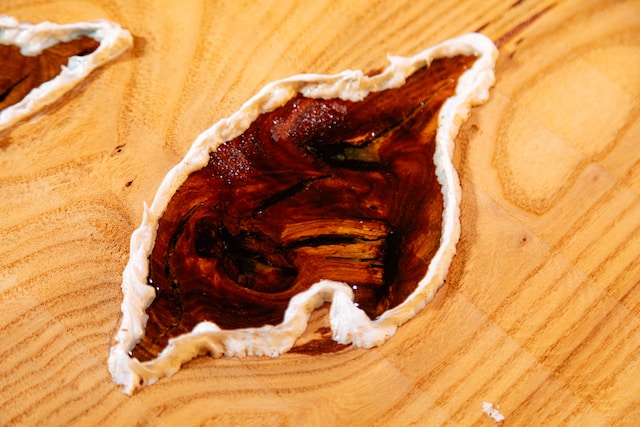
Now that we’ve got what we need, let’s get started! The first step is to select the right kind of wood. If you’re going to making a live edge table, you’ll want to try and find a piece that has some interesting knot patterns or other natural characteristics that can add some visual interest. For the sake of durability, try to find a hardwood such as oak, mahogany, or walnut.
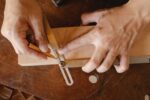
Next, you’ll need to measure and cut the wood for your table top. This will require some precision and skill, so be sure to take your time and measure twice before cutting. Once that’s done, it’s time to get to sanding and shaping the wood. This will help make everything look great, but it’ll also smooth out any rough edges and give the table a nice finish.
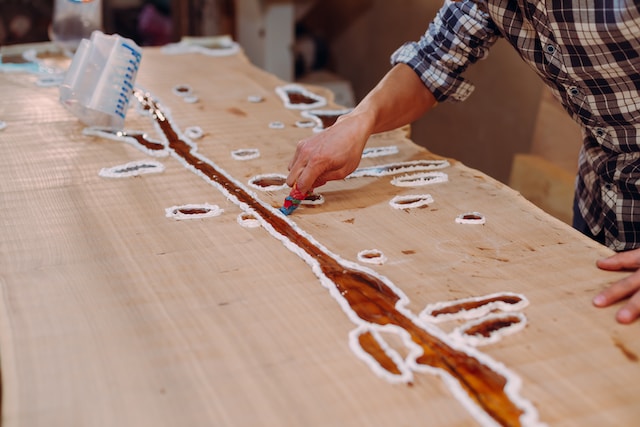
Now that your table top is looking good, it’s time to seal the wood. This is important because it will help protect the wood against moisture or any other issues that may arise. Depending on what product you’ve chosen, you may need to apply multiple coats in order to get the protection that you need.
Once the wood is sealed, we can move on to assembling the table. Adding the legs is usually the easiest part, but if you’re feeling ambitious you can get creative with this part (for example, try adding casters for a rolling table).
Finally, it’s time for the finishing touches. If you have chosen to stain, paint, or varnish the wood, do so now. Then you can add whatever decorative touches you’d like, such as plants, centerpieces, or other finishes that you think look great.
And once you’re done, all that’s left to do is relax and enjoy your beautiful new table! Now that wasn’t too hard, was it? So go ahead, start creating, and enjoy the fruits of your labors!
Gather your Supplies
If you’re looking to create your own custom wooden live edge table, the key is to make sure you’ve got your supplies before you get started. Depending on the size of your table, and the look you’re going for, the supplies you’ll need can vary, but you’ll likely need some lumber for the top and legs, sealant or stain, and wood glue.
Being someone who likes to DIY, I like to get creative with my tables, so I also love to pick up a few extra items just in case. This could include additional tools such as sandpaper, a sander and clamps, as well gloves, safety glasses and a dust mask, especially if you’re sanding down the edges of the wood.
Also, depending on the shape and form of your table, you may need some additional materials, such as bolts, nuts, and screws to assemble the pieces together. You’ll also need hand or power tools such as saws, drill presses, and screwdrivers.
And, if you’re feeling extra creative and you want to add some extra flair to your table, it’s always a good idea to pick up a few extra decorative items like colorful fabric, orgloss-finish paint, or even colorful wax.
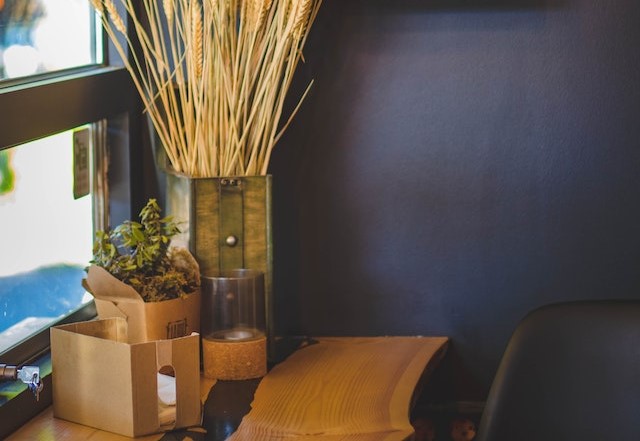
Finally, everyone’s favorite part of the table supplies: decorations! You’ll want to consider what type of decor you want to accessorize your table with, whether this goes on the top or bottom of your table. A beautiful centerpiece or some unique knick-knacks can really make your table stand out and complete your room’s look.
So, now that you’ve gathered all the supplies you need, the next step is to get to work and create your beautiful live edge table. Let’s get started!
Steps
If you want to make a beautiful wood live edge table for your home, the first step is to gather all of your supplies. You’ll need a few pieces of wood, some sanding paper, a few tools, glue and some screws. Now that you’re armed with your supplies, it’s time to start the steps.
Step One: Select Your Wood. Selecting the right kind of wood is essential to making your table look great. You want to find something with a thick, sturdy grain and the right color. It’s also important that the wood is in good condition, without too many knots or gouges.
Step Two: Measure and Cut the Wood. Once you’ve selected the wood, use a measuring tape and a saw to cut your pieces to the desired size. Make sure to cut the edges as straight as possible, as this will be important for the finished table.
Step Three: Sand and Shape the Wood. Once you’ve cut the wood, you’ll need to sand it down to achieve the look you’re going for. This can be a bit tricky, so make sure to use caution and take your time. You want to make sure that the wood is sanded down to a smooth finish and that the edges are rounded and uniform.
Step Four: Seal the Wood. Once you’re satisfied with the shape, you’ll need to seal the wood. This will help to protect the wood and give it a finished look. There are a couple of options available, so you’ll want to find one that fits your vision.
Step Five: Assemble the Table. When the wood is sanded, sealed and ready to go, it’s time to assemble the table. You’ll need to use a few screws and some glue to attach the pieces together. Make sure to use a strong, sturdy glue, as this will be central to the support of the table.
Step Six: Attach the Legs. Now that the table is put together, it’s time to attach the legs. This part can be a bit tricky, so you’ll want to make sure to use the correct tools and approach it carefully. Again, make sure to use a strong fastening glue or screws to secure the legs to the table.
Finishing Up:
Once you’ve done all of the necessary steps and your table is put together, all you need to do is add a few finishing touches. You can stain or paint the wood, or even just give it a light sand. Finally, you can add a few pieces of furniture to the surface to complete the look.
And there you have it! You’ve just created a beautiful wood live edge table for your home. Now you can enjoy your new piece of furniture, knowing that you created it with your own two hands.
Add Finishing Touches
So, you got your perfect pieces of live edge wood all ready to go, and now you want to make sure your table looks like it belongs in a designer home. Finishing touches are essential for that, so let’s talk about some fun ideas to make sure your table looks absolutely stunning when you’re done.
You can choose between several finishing options such as paint, stained, and lacquer. Each one will have its advantages – paint, for example, is much easier to change in the future if you get bored with the current look – and disadvantages – lacquers can look oily when applied to some types of wood.
To make the table really stand out, you can install some wood decorative pieces such as a mosaic inlay, a diamond inlay, or even a personalized engraving. You can buy some online, or you can search for artisans that may provide custom pieces for a unique touch.
If you want to add an extra decorative element, you can use nails and tacks with a finish of your preference (antique nickel is a great option). You can also look for brass, copper, or even some exotic metals.
If you want to go for a more natural look, you can add some wax or oil. Depending on the look you want to give your table, you can choose between different finishings such as soft wax, oil finish, and even a mineral oil soap finish.
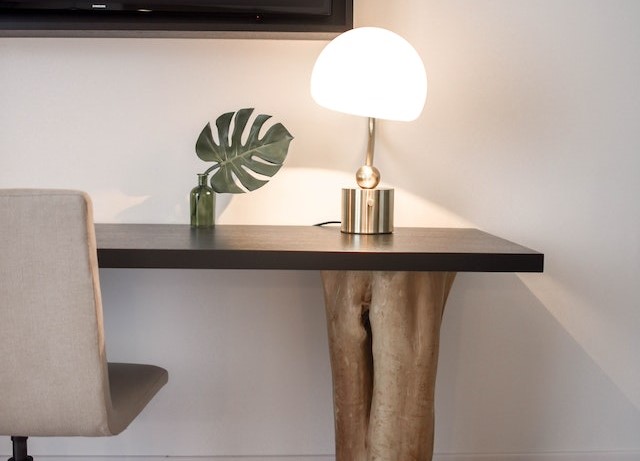
Finally, there’s another option – adding a leg design. You can use a traditional style, like a turned leg, or you can get creative and use a more modern shape such as angled one (which gives the table a very contemporary look). Again, you can make it yours by choosing the material – brass, beech, oak, or rustic wood – and the finish you like.
The great thing is that you can play with all the options mentioned above to give your table the look you want. It all depends on your creativity and the style you are going for. So don’t be afraid to experiment – it’s your table! With some practice, you can create a beautiful, one of a kind live edge table for your home. And when you’re done, feel free to invite me over for your housewarming – I’d love to see it!
Enjoy Your Table
When it comes to enjoying your handcrafted live edge table, there’s no right or wrong way. Whether you’re eating a meal, celebrating a special occasion, or just taking a break – enjoy it to its fullest! Place some stylish and attractive placemats down and centerpieces to add some color and brings life to your table. Don’t forget a tasty snack or two, great music, throw pillows and if you’re up for some Bingo or Cards, grab a deck and enjoy some quality time.
Your table is an excellent addition to any atmosphere, imaginable. Whether you’re living room requires extra seating, in a library for a unique reading chair or in the dinning room-your table doesn’t go overlooked.
Give your friends and family the surprise of a lifetime when they walk into your home and see your beautiful, unique and timeless table. Chances are for the remainder of the day, your table is the focal point and will be the center of attention. After all, aren’t guests suppose to be entertained? Relax and enjoy the atmosphere, momentarily. Who knows—maybe you can sell your detailed, custom pieces when you’re done with them.
One piece of advice before we wrap this up: Keep your table well maintained! Investing in furniture can be expensive, so why not take the extra time to take care of it? A simple wood cleaner and polisher with a soft cloth can instantly bring life to your table. Make sure it’s wiped and polished on a regular basis. I know what you’re thinking—we’ve been talking about a lot of work being put into creating this live edge table, why give it more work? Simple—show it some love and it will show you some love back by standing the test of time.
I think its time to wrap this up, don’t you? After all, your table won’t be enjoying itself; you will have to do it. Have fun and let your imagination run wild. After all, a custom piece of furniture like a live edge table demands to be enjoyed and experienced! So get to it and show that beautiful table some love!