How to Build a Sauna in a Shed | 2023 Guide
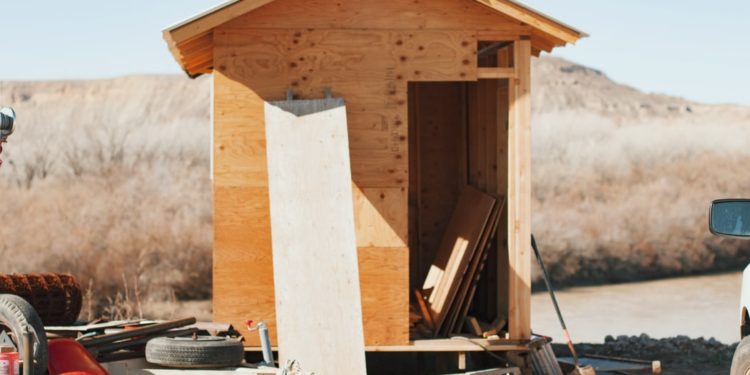
If your garden shed is sitting idle and you’re eager to pursue a new DIY project, you might want to consider transforming it into an outdoor sauna. Even the most basic of garden sheds can be transformed into a sauna with relatively little effort. It’s even easier to turn a brand new garden shed into a sauna, with less preparation involved. Our handy guide has all the details you need to turn a humble shed into a luxurious sanctuary.
Installing Insulation Material
If you’re planning on turning a garden shed into a sauna, you’ll need to think about insulation. Even the best quality shed will offer insufficient insulation for sauna applications. The best material to use for insulating a shed for a sauna conversion is fibreglass. This is relatively affordable and easy to acquire, but you’ll need to ensure you pick a variety of fibreglass material.
The walls of your shed will need to be kitted out with one type of fibreglass insulation, while the ceiling will require fibreglass material with a different rating. When it comes to cladding walls, R13 fibreglass insulation material should be more than sufficient. However, you will need to double up on layers. As for the ceiling, you’ll need to source some R26 fibreglass insulation. Again, a double layer is a good idea.
A good sauna needs to keep moisture locked in, so you’ll also need to focus on creating an effective barrier to keep all of that steam within the confines of your shed. Moisture barriers rolls are fairly inexpensive and be found at most hardware stores. When installing moisture barrier material, make sure that the shinier side is facing inwards. This will ensure maximum heat is retained and moisture levels remain high. As with the fibreglass insulation, you may want to add multiple layers of moisture barrier material.
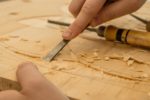
Installing Board Material
The main elements of your sauna conversion are now taken care of, although you’ll need to complete some finishing touches to ensure your new sauna looks the part. Wall boards are essential in keeping fibreglass and moisture barrier material out of sight. Cedar is the best material when it comes to wall boards, although it’s fairly expensive. If your DIY experience is fairly minimal, it makes sense to invest in tongue and groove boards for easy installation. However, these boards come with a high price tag. That being said, tongue and groove boards are recommended as they create a very reliable seal against moisture.
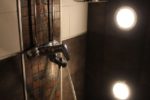
Choosing a Suitable Stove for the Sauna
Every sauna needs a heat source, so you’ll need to invest in a quality stove for your new sanctuary. A wood-burning stove is a fairly cost-effective solution here and is fairly easy to install. However, as your garden shed is made of wood, you’ll want to minimise fire risk. Although the stove should be placed outside of the shed itself, it will still need to be placed in close proximity to the structure.
You should therefore think about placing a stone or concrete slab between the stove and the shed itself to act as a buffer. Once you’ve set your stove in place, you’ll need to install piping. You’ll need to cut a hole through the wall of your shed for this. Avoid metallic pipes here and always opt for fireproof material.
Finally, you should think about ventilation. Thankfully, you don’t need to go overboard here. Your ventilation should ideally be placed within the roof of your sauna. To make life simple, purchase a ready-made ventilation panel and cut out space for it in your shed roof. You can then install your panel to enjoy optimal ventilation. Provided you’ve followed all of the steps outlined above and not cut any corners, your DIY sauna should serve you well for years to come. However, keep an eye on the condition of your wall boards and be sure to carry out minor maintenance over time to get the most out of your sauna.