How To Create A Beautiful Wood Laser Engraving
Hey guys, is anyone out there looking to make a fancy and fun new project with lasers? Well, look no further, because I’m about to tell you all about how to create a beautiful wood laser engraving!
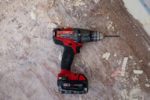
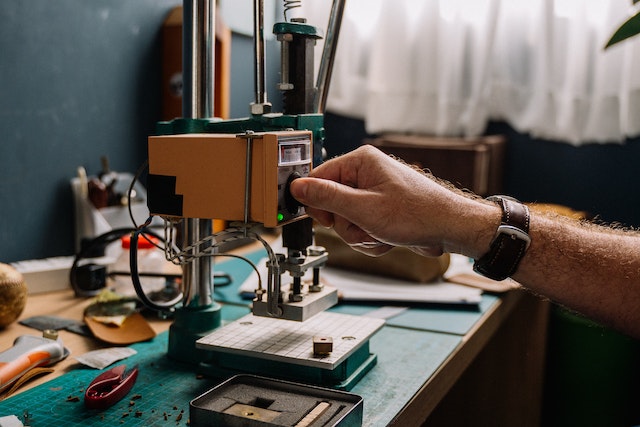
First thing’s first: you will need a few items. You’ll need a laser engraver. These are available in a variety of models, ranging from hand-held DIY lasers to higher-end industrial models. Additionally, you’ll also need some wood, protective eyewear, a linear focusing lens, and a jig or stand.
Once you have gathered everything you need, the process can commence. Set up your jig or stand and place your wood piece in the center. Put on your eyewear to protect your eyes, and adjust the linear focusing lens to the desired beam size.
Next, switch on your laser to start the process. Select the pattern you’d like to use and adjust the laser’s movement speed and laser power to get the engraving just right. With some laser engravers, you may have the option to preview the design before you start the engraving process. If you’d like something more exact, you can also use a vector-based graphics program to control the pattern on your wood.
Once your engraving is complete, you can observe your beautiful work. You’ve mastered the art of wood laser engraving! As a final tip and trick, the depth and darkness of your engraving can be changed by adjusting the pulse duration of your laser.
So, there you have it, your guide to learning how to engrave an amazing wooden piece. Go ahead and give it a shot! You’ll be a pro laser engraver in no time. Thanks for stopping by, now it’s time to get engraving!
The Supplies
OK, so you’re ready to either make your own wood laser engravement or you just like the idea and wanna try it out. Well here’s what ya gonna need:
First of all, you’re gonna need a laser engraver. Now what type or model is best? I always recommend getting one with the up-to-date features and all the bells and whistles. These come in all shapes and sizes, so it’s best to know what kind of project you’re doing before you purchase.
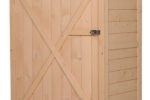
Next you’ll need some wood. This part is pretty self explanatory, the type of wood will depend on what types of engravings you’re doing. If you’re making a gift, regular plywood should be fine. But if you’re looking for a more creative piece then hardwood might be a better option. Make sure you avoid softwoods, like pine, as they’ll just burn too easily.
Next, you’ll need a photo editing software to get your design ready to engrave. This is one of the most important things, as you’ll need to ensure you’ve got your design just right before you engrave it. Photoshop is always a great option for this, but many other graphic design programs will work too.
You’ll also need a special eye mask to prevent any harm to your eyes when you’re laser engraving. Laser engraving can be very dangerous, as the light can be quite powerful and harmful if you don’t take the necessary precautions. Many packages include these protective eyewear, but if they don’t, I always recommend investing in a pair separately.
Finally, you’ll need some patience and skill. Now don’t worry, laser engraving isn’t too hard to do so you don’t need to be a professional or anything. You just need to be willing to take your time and learn the process. It may take a few tries, but once you get it down you’ll be making beautiful wood engravings in no time.
The Process

Good day! Are you looking to create a beautiful wood laser engraving like a pro? Then stick around for the ultimate guide on how to get it done!
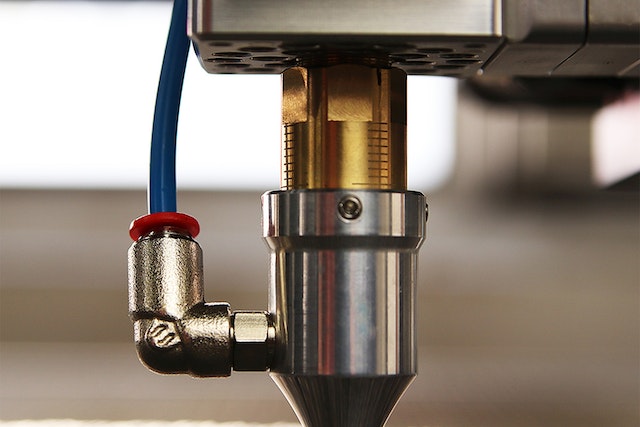
Now, let’s move on to the process. This is where all the fun starts! First off, you’ll need a graphic editor to create the design and a cutting device such as a laser engraver to get it carved onto the wood.
For the graphics editor, I recommend something that is user-friendly, like Corel Draw or Adobe Photoshop. You can find lots of tutorials online on how to use them, and once you understand the basics, it’s easy to create all sorts of beautiful designs with them.
However, if you don’t have the right tools, don’t despair! There’s a workaround. You can create a rough sketch of your desired design on graph paper and then scan it, so that it can be imported into the editor. This can save you a lot of time.
Once you’ve got your design ready, you’ll need to feed it into the laser engraver to do the cutting part. Every engraver is different, so you need to check the user manual for the instructions on how to do this. Make sure you understand the settings, otherwise you’ll end up with a mess!
Now that you’ve got your design in the engraver, it’s time to get to work! Make sure you use safety gear like protective eyewear and safety gloves and double-check your settings before you start. Once you’re all set, press the button and let the laser do its thing! After the engraving is done, the woodwork is ready to be admired.
Finally, don’t forget to contour the edges of your wood laser engraving so it looks neat and smooth. Depending on the tools you have, you can do it with sandpaper, a file, or even a dremel tool.
That’s it, you’re done! Creating a beautiful wood laser engraving isn’t hard if you have the right tools and follow instructions. Now all you need to do is show off your piece to friends and family – and don’t forget to take lots of pictures for documentaiton!
Tips & Tricks
Alright, so we’ve gotten the supplies and gone through the process, you should now have a beautiful wood laser engraving. But in case you’ve run into some troubles, here are some tips and tricks for you to get the best results. Let’s start off with the basics.
First of all, if you’re going to be using a laser engraving machine, make sure you take extra care when handling it. The machine is delicate and needs to be treated with respect! Also, make sure you wear protective gear such as eye protection and long sleeves while lasers are in use – don’t want to burn yourself!
Secondly, when it comes to the material you’d like to engrave onto, try to stay away from soft or porous materials, as the laser may leave scorch marks. So make sure to do some research on the material you plan on using and see if it’s suitable for a laser engraving.
Thirdly, depending on the size of the engraving, try to keep it small and centered on the material. You don’t want it to be too big and overwhelming. Try to keep an even spacing between the curves and be conscious of how thick or thin you make the lines. Too thick and it’ll be unprofessional, too thin and it won’t be visible.
Fourth, don’t forget the final step! After you finish the engraving, make sure to sand your piece in order to even out the burn marks and give it a nice finish. A fine sandpaper should do the trick – 400 grit works well for woods.
Finally, make sure to keep your work area safe and organized. Don’t let any flammable materials get near the laser engraver, and make sure everything is organized before starting your work.
And that’s pretty much it! With these tips and tricks, you should be able to create beautiful wood laser engravings with ease. Now go out there and make something amazing!